Setup new location
Print
Modified on: Wed, 10 Jun, 2020 at 5:35 PM
Locations can be either your retail stores, warehouses, or franchisee outlets where you do any or all of the following activities: sell products, ship or fulfill orders, and stock inventory. You can set up multiple locations in your account and all the sales, inventory, etc are managed at each location level
1. Click on Settings and select Locations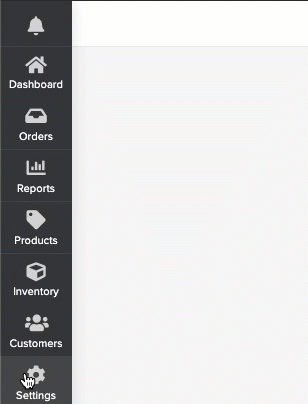
2. Click on Add New Location and fill all the necessary details
Location Details:
Name*: Name of the location (eg: Brooklyn 5th Ave)
Franchisee Name: Company Name of the location (eg: Acme Corp LLP)
Tax Number: TAX number of the location
Contact Number: Contact number of the location (will be printed in invoices)
Email: Email address of the location
Warehouse: Enable if it a warehouse from where the goods are shipped to all other locations
Location Settings:
Round Off*: Select the nearest Decimal Rounding Off required in your store (Based on Swedish Rounding Standards)
Currency*: Select the currency used in the location
Sale Channel*: Select the Sale Channels that are used in the location (eg: Walk In, Swiggy, Zomato etc)
Payment Types*: Select the payment types that are accepted (eg: Cash/Card etc)
Suppliers: Select the suppliers from where the location procures the goods
Timezone*: Select the timezone of the location
Location Address:
Address Line 1: Address line 1 of location
Address Line 2: Address line 1 of location
City: City of the location
State: State of the location
Country*: Select the country of the location
Zipcode: PIN code of the location
Advanced Settings:
Enter Valid JSON data. (Optional): Will be used only for few integrations. Leave this column blank
Copy Products:
Copy Products from Location: Select the location from where the product list has to be copied. Can be left blank if the product list should not be updated
3. Click on Save to complete creating the new location
Did you find it helpful?
Yes
No
Send feedback Sorry we couldn't be helpful. Help us improve this article with your feedback.